
White Label Vee
Change how Vee looks to provide a more consistent product experience for your users.
Access requirements
Custom profile with these capabilities: Model (Write, Simple)
Reach out to your administrator for access.
Overview
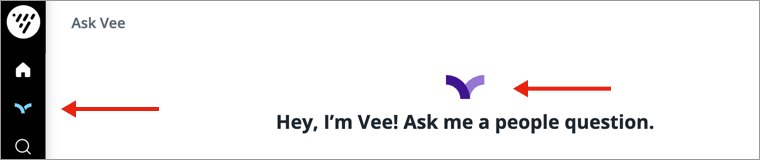
You can customize Vee to create a more harmonious experience with your own application, including display name, greeting message, disclaimer message, input hint, and icon.
White label Vee
- In a project, on the navigation bar, click Model > Settings > White Labeling.
- In Locale, change or add a locale.
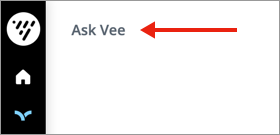
- In Display name, type a name. This is the name you want to associate with your embedded analytics AI tool. This name appears in the top left corner of the conversation interface.
- In Greeting message, type a message. This message appears in the middle of the conversation interface.

- In Disclaimer message, type a message. This message appears at the bottom of the conversation interface.

- In Input hint, type a message. This message appears as a prompt in the question field.

- In Icon, upload an icon to replace Visier's default icon. This icon appears in the navigation bar and in the middle of the conversation interface.
- When finished, publish your project to production.
Redirect users to your portal
If a click-through link is configured, the GET /v1alpha/vee/question request returns a custom URL in the chartUrl field. The URL will redirect users to the relevant content in your application.
Enable a seamless user experience by configuring a click-through link so users are redirected to your application whenever they click a Visier hyperlink, including those in shared analysis, analysis emails, or embedded visualizations.
You can configure the click-through link:
- In Studio. In a project, navigate to Model > Settings > Navigation, Notices & Links.
- Using the Tenants API. POST
/v2/admin/tenants.