Assign Permissions to a User
Specify what data and capabilities users can access in your solution by assigning or removing permissions.
Who can use this feature?
Users with the following:
- Profile capabilities: Permission Management (Write, Simple) OR Security (Write, Simple), User Management (Read, Simple)
Not sure if you have this feature or capability? Reach out to your administrator.
Note: If the More Security Around Data Access Management feature is enabled, you will need access to all data such as the
You can assign permissions to individual users or in bulk.
Assign permissions individually
Note:
- This task can only be performed in a project. For more information, see Projects.
- This feature is also available through Visier's public APIs. For more information, see Users API.
- You can assign up to 200 permissions per user in a project. These maximums are the default, however, contact Visier Technical Support to request limit adjustments.
- In a project, on the navigation bar, click Security > Users.
-
Select a user in the Users list.
- Click Assign in the Permissions area.
- Select the permissions you want the user to have.
- Click Assign.
Tip: Review the analytic objects and member populations the user has access to by clicking Summary in the Permissions area.
Assign permissions in bulk
The uploaded Permissions List file can contain a maximum of 1000 user rows. If necessary, you can separate your changes across multiple files. The uploaded file can simply contain a list of users that you have updated. Removing rows will not impact the assigned permissions of existing users.
Tip: When editing the spreadsheet:
- Do not change the column names.
- Sort the spreadsheet to quickly find users.
- Save the file in .xls, .xlsx, or .csv format.
-
Do one of the following:
Option Do this In the global workspace On the global navigation bar, click Tenant, and then click the Users tab.
In a project On the navigation bar, click Security > Users.
-
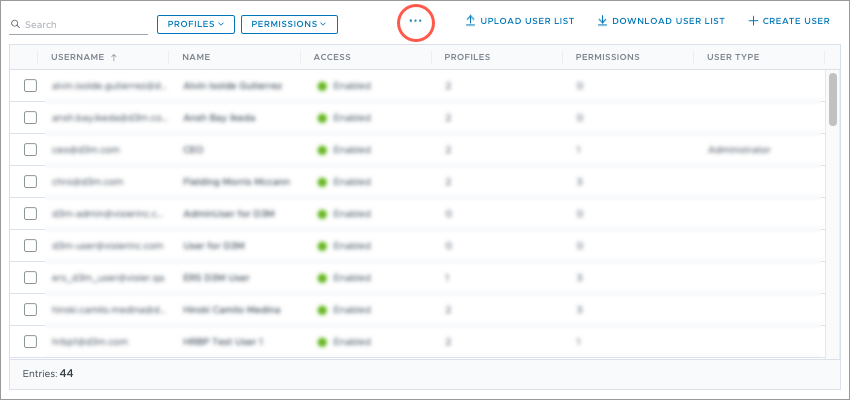
Click the More button
 > Download Permissions List in the upper-right corner of the Users room.
Result: The Permissions List is generated as an .xlsx file and automatically begins downloading.
- Edit the Permissions List on your computer:
- Open the file and find the user you want to edit in the AssignedPermissions worksheet,
- Edit the permissions for the user:
- To assign a permission, paste the Permission ID in an empty cell.
- To replace an existing permission, paste the Permission ID in the cell that contains the permission you want to overwrite.
- To remove a permission, delete the Permission ID.
- Repeat Step 3 to edit the permissions of other users.
- When finished, save the file.
- Upload the Permissions List in Studio:
Click the More button
 > Upload Permissions List in the upper-right corner of the Users room.
- Select the file on your computer.
Result: A message appears to indicate whether your file was imported successfully.
Note: Changes to the Permissions List are subject to the project lifecycle and do not go into effect until you publish them.
Use the following table as guidance when editing columns contained in the Permissions List:
PermissionsList worksheet
| Column | Description |
|---|---|
| Permission Name | The name of the permission. |
| Permission Description | A description of the permission and the security access it provides. |
| Permission ID | The permission's reference number. To assign a permission to a user, copy the Permission ID and paste it in a column in the AssignedPermissions worksheet. |
AssignedPermissions worksheet
| Column | Description |
|---|---|
| Username | List of the users in the solution. |
| Permission # ID | List of the permissions the user has been assigned. Each column should only contain one Permission ID. |
