
Publish Project Changes
Make your changes available to all users as a new production version of the solution.
Overview
The changes that you make in a project are tracked as uncommitted changes, which can be released to production or committed as a revision. If you're making minor changes in the production project, such as switching to a new data version, the uncommitted changes you make can be published straight to production. Major changes, such as setting up security for your solution, should be made in a project, committed as a revision, and moved through the project lifecycle. For more information, see Use Projects for Version Control.
Note:
- If a new production version was released while you were making changes, you'll have to update your project to the latest production version before you can publish your project. For more information, see Merge Project Changes
- If you need to rollback to a previous version of the solution, contact Visier Technical Support.
- Before publishing project changes, you may want to validate your metric values to confirm there aren't any unwanted changes, especially if there is a new data version in the project. You can add summary metrics to your dashboard in a project to check that metric values are correct. The project must contain a new data version to validate metric values. To add summary metrics, do the following:
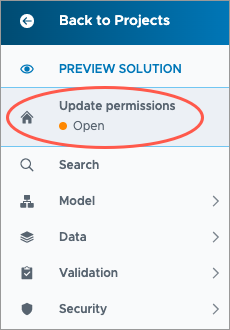
- In a project, click the Home button
 .
. - Click Dashboard, and then click Edit Summary Metrics.
- Select the metrics that you want to validate, and then close the Summary Metrics modal.
Result: The metric values are listed in the Dashboard tab of the project Home. If you don't see any values, share your project with Visier Technical Support to generate a new data version. For more information, see Share a Project.
- In a project, click the Home button
Publish uncommitted changes
Note: We recommend that you use this workflow when making minor changes to the solution using the production project. If you're making major changes that require collaboration or a review, we recommend that you make changes in a new project and move the project through the project lifecycle.
-
On the global navigation bar, click Projects.
- Select the production project.
- Make changes in the production project.
- On the navigation bar, click the Home button .
-
Click the Changes tab in the project home.
- Select the uncommitted changes you want to publish to production, click the More button
 > Release All to Production.
 -
In the Release to Production dialog, type a name, description, and release version, and then click Release now.
Result: A new production version of the solution is created.
Publish a project
Prerequisites: If you're not the owner of the project, you must have the Edit or Share permission to perform the following tasks.
Note:
- You cannot publish a project if you were the one who changed the project status from Open to Approval. The project must be approved and published by another collaborator.
- Uncommitted changes in your project will not be published to production.
-
In a project, on the navigation bar, click the Home button
.
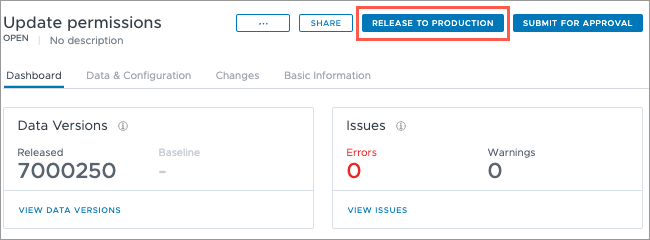
-
Click Release to Production in the upper-right corner of the project. The project must contain at least one revision before the Release to Production appears.
-
In the Release to Production dialog, type a name, description, and release version, and then click Release now.
Result: A new production version of the solution is created.